Full working Arduino Gimbal Project | Self-Stabilizing Platform
18,000.00 ₨
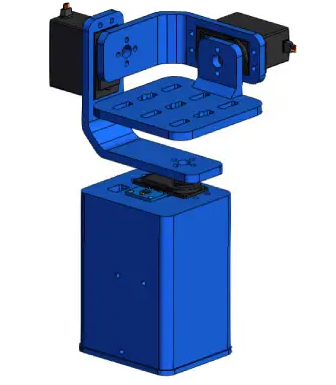
Full working Arduino Gimbal Project | Self-Stabilizing Platform I designed the gimbal using a 3D modeling software. It consists of 3 MG996R servo motors for the 3-axis control, and a base on which the MPU6050 sensor, the Arduino and the battery will be placed.
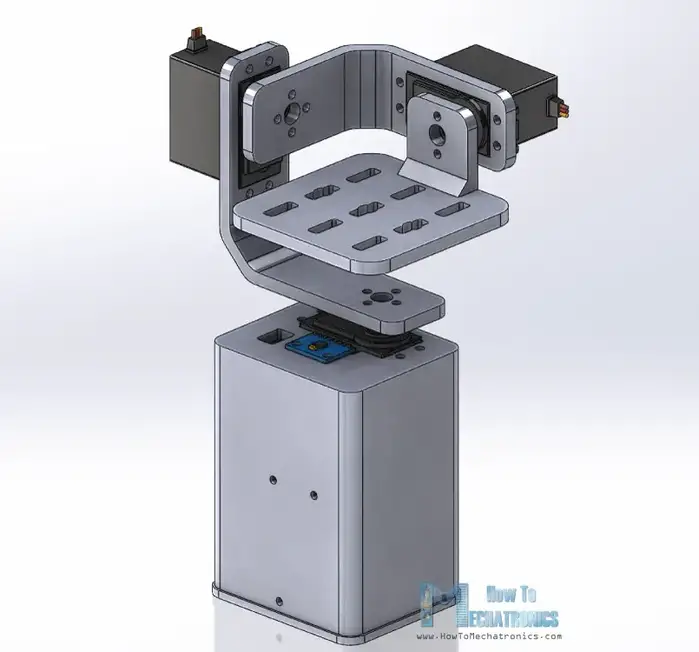
Assembling
Assembling the gimbal was quite easy. I started with installing the Yaw servo. Using M3 bolts and nuts I secured it to the base.

Next, using the same method I secured the Roll servo. The parts are specifically designed to easily fit the MG996R servos.

For connecting the parts to each other I used the round horns which come as accessories with the servos.

First, we need to secure the round horn to the base with two bolts, and then attach it to the previous servo using another bolt.

I repeated this process for assembling the rest of the components, the Pitch servo and the top platform.

Next, I passed the servo wires through the holders openings in order to keep them organized. Then I inserted the MPU6050 sensor and secured it on the base with a bolt and a nut Arduino Gimbal Project

For powering the project, I used 2 Li-ion batteries which I placed in this battery holder. I secured the battery holder to the base using two bolts and nuts.

The 2 Li-ion batteries will produce around 7.4V, but we need 5V for powering the Arduino and the servos.

That’s why I used a buck converter which will convert 7.4V to 5V.
Be the first to review “Full working Arduino Gimbal Project | Self-Stabilizing Platform” Cancel reply
Related products
Ready-Made Projects
Ready-Made Projects
Ready-Made Projects
Arduino All in One Robot | Line Follower Obstacle Avoiding IR Remote and Mobile Control





Reviews
There are no reviews yet.