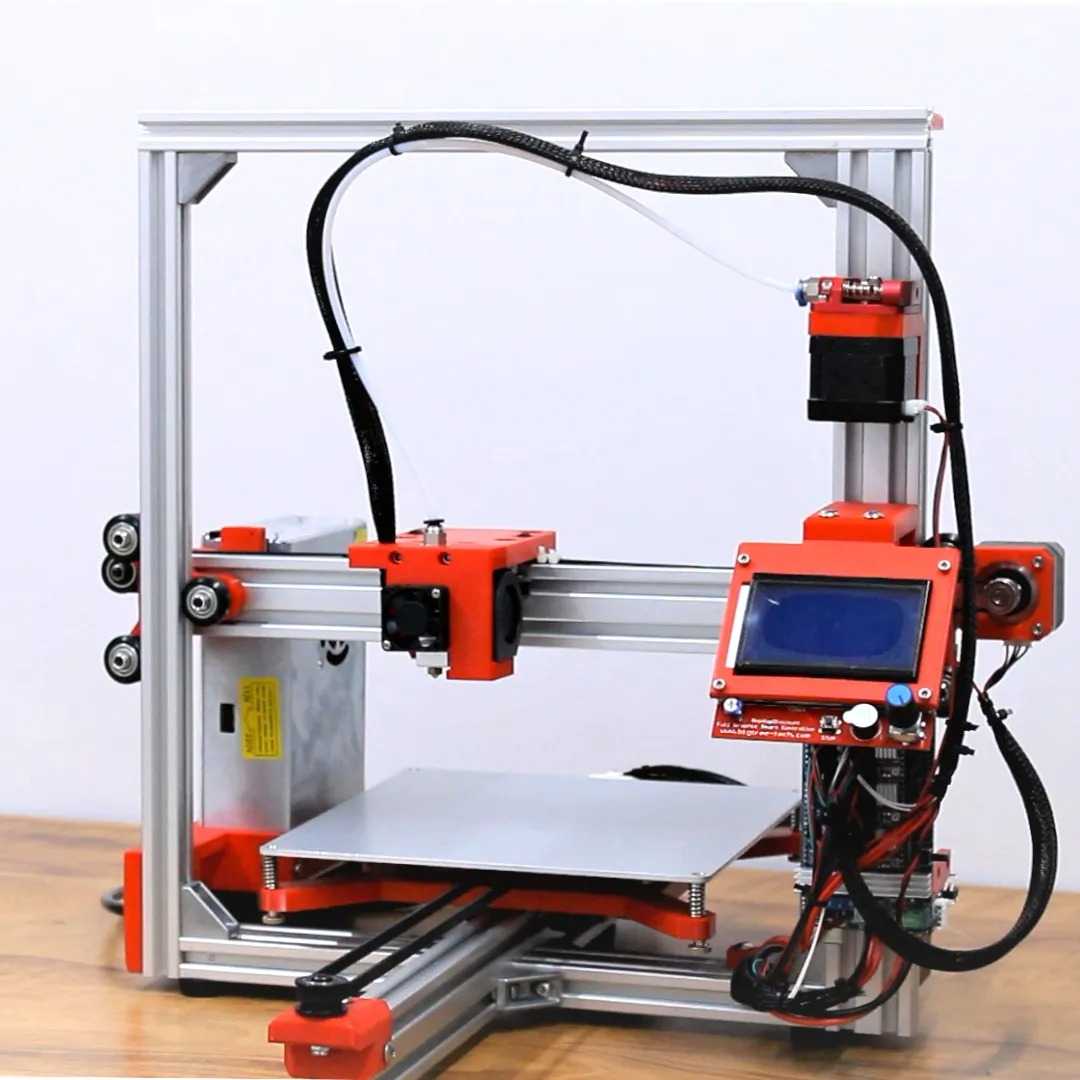
DIY 3D Printer Un-Assembled Complete Kit
61,500.00 ₨
- Processing Time 4 Days
- Advance Payment Because lot of Work
DIY 3D Printer kit The frame is composed of seven pieces of aluminum extrusion profiles, with dimensions of 20x20mm and 20x40mm.
The required profile lengths are as follows:
– 20x40mm, 150mm length: 2 pieces
– 20x20mm, 380mm length: 1 piece
– 20x20mm, 400mm length: 1 piece
– 20x40mm, 400mm length: 3 pieces
Please take note that you should revisit the links for the necessary parts and the associated blog post for further information. Your attention to this matter is greatly appreciated.
To assemble the frame, we will be utilizing 90-degree corner brackets, M5x10mm bolts, and M5 sliding nuts. You will need 8 brackets and 16 sets of sliding nuts and bolts.
To pre-assemble the brackets, follow these steps:
1. Take one 400mm 20×40 profile and mark it at 145mm from one end. This marking is where we will attach the 150mm profiles.
2. Attach the 150mm profiles at a right angle using the brackets. Repeat this process on the other side and slide the brackets into the main profile. Ensure that the profile aligns with your marking, and securely fasten the allen bolts. Rotate the profile as needed.
Next, assemble the frame as follows:
1. Place the 20×40 400mm profile on the right side and the 20×20 400mm profile on the left side, both oriented vertically. Secure them in place using the corner brackets.
2. Position the 20×20 380mm profile on the top and secure it with corner brackets.
3. Install rubber feet under the frame to prevent it from scratching the surface of the desk. Tilt the frame, attach the rubber feet to the ends, and tighten the allen screws.
4. Place the frame upright, and your frame assembly is now complete.

Full step by step assembly video Given below link
PACKAGE INCLUDE:
All electronics items used in Videos + 3D Printed Parts + All Hardware Parts
Related products
Ready-Made Projects


