DIY Drawing Robot Project Unassembled Arduino Uno + CNC Shield
23,500.00 ₨
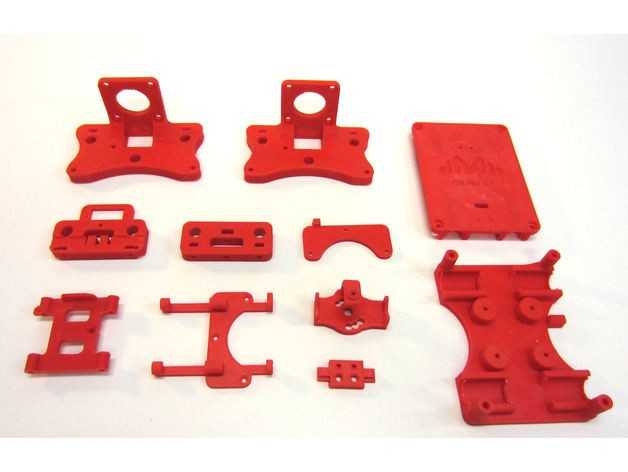
- Complete Hardware + 3D printed Items
- Package List Given Below
- Unassembled CNC Plotter
- Only Advance Payment
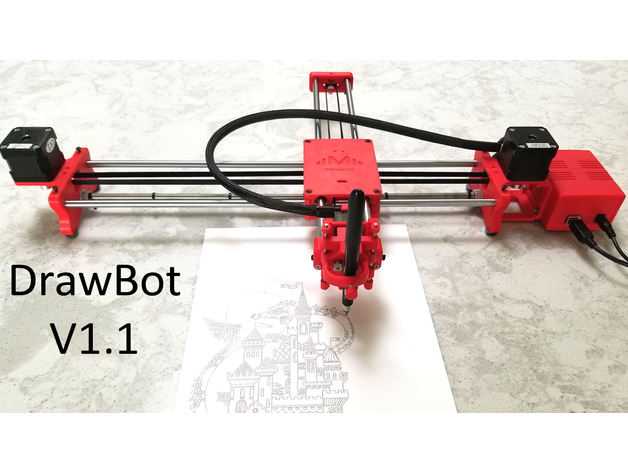
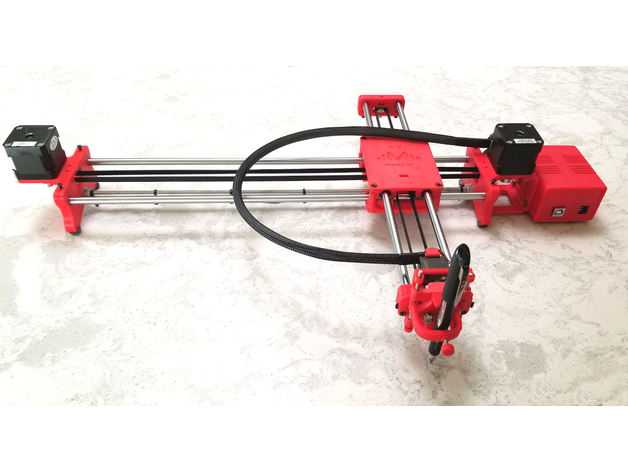
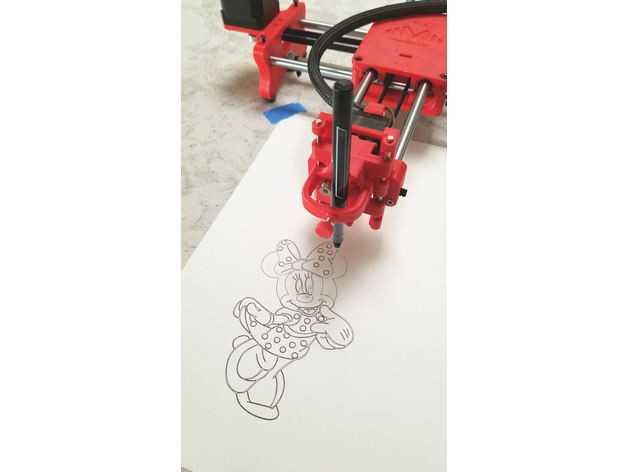
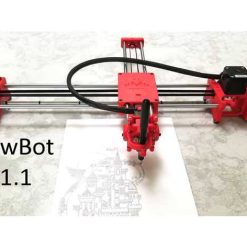
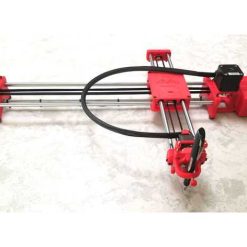
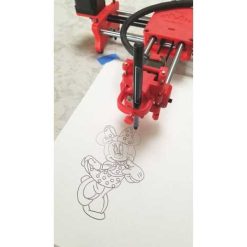
DIY Drawing Robot Project Draw Bot is similar to the commercially available AxiDraw. It is powered by an Arduino Uno controller, uses a CNC Shield, and GRBL firmware. The approximate cost to build the Draw Bot is $150.
Here’s what is new for Draw Bot Version 1.1 DIY Drawing Robot Project
I’ve improved many parts, but all new parts are compatible with all of the old robot parts. Here’s what has changed:
How to assemble:
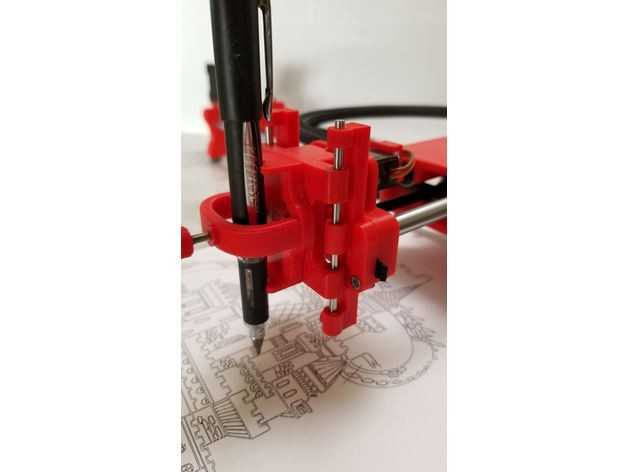
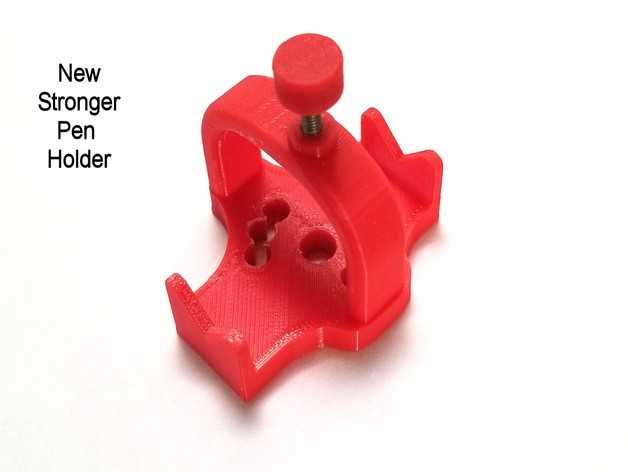
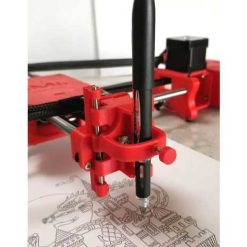
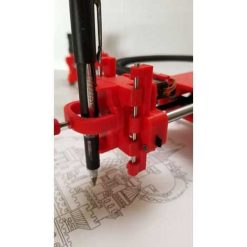
- There’s a new Pen Holder which is sturdier but still maintains the ability to hold a pen at an angle. The new pen holder works with the current robot.
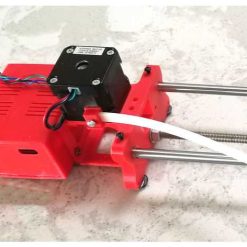
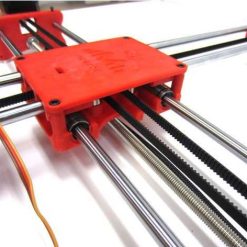
- Stronger version of the pen sliding mechanism. It is compatible with the original pen holder and robot. The extra strength will hold the pen more firmly and allow more accurate movement of the pen.
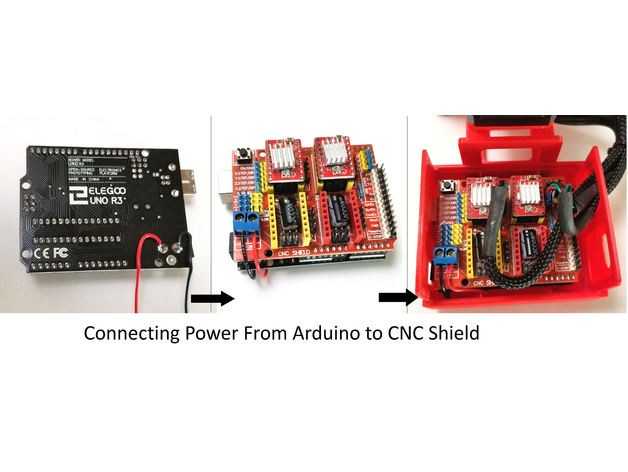
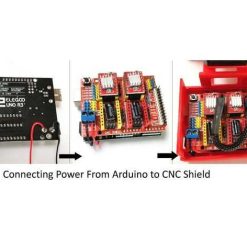
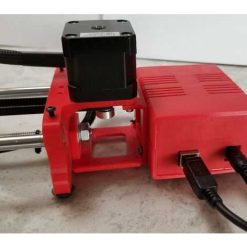
- User Gasp pointed out that Arduino Vin can’t handle more than 1A. There is a new slide showing how to connect power from the Arduino barrel connector to the CNC Shield.
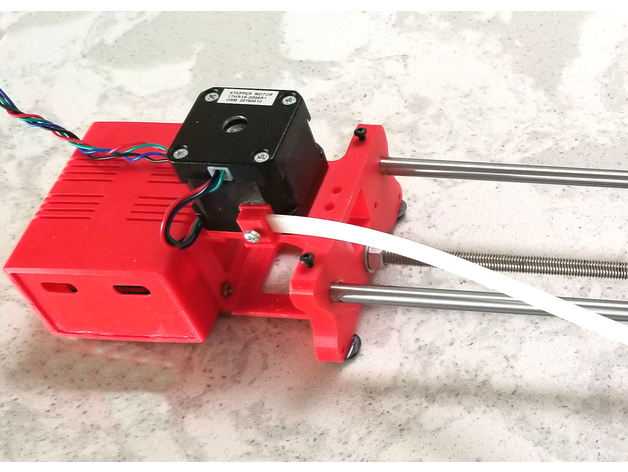
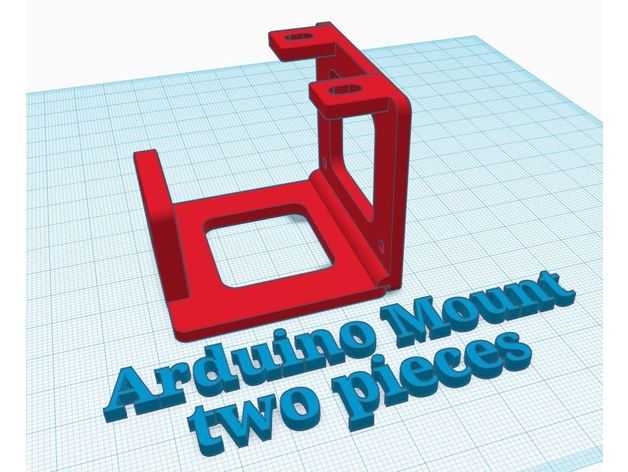
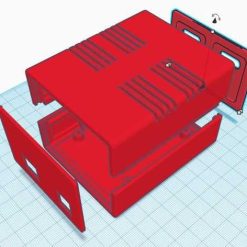
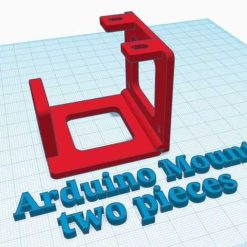
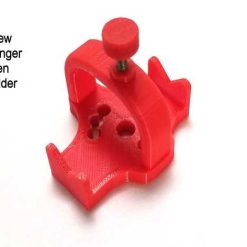
- There’s a new bracket designed to attach the Arduino enclosure to the right hand of the robot. See the new front page photo! The bracket uses existing holes so no other parts need to be modified.
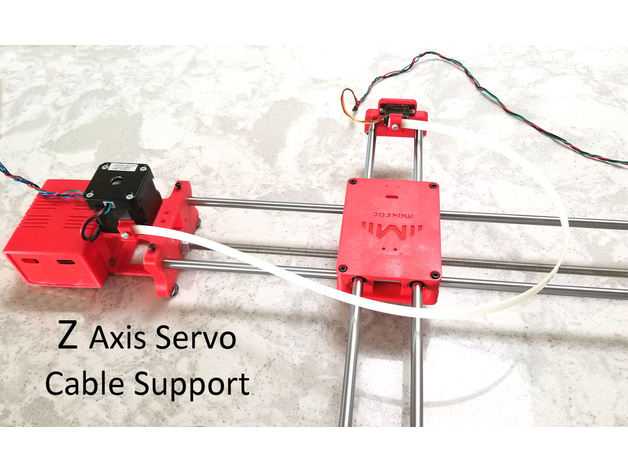
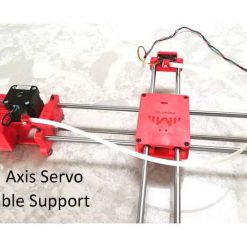
- I have designed a cable management system that uses a 500 mm x 9mm large wire tie to support the Z axis servo wiring.
- I just found out that the DrawBot works with some of the AxiDraw software. I will document what works and how to use it. This is really cool and will make the DrawBot even more useful.
All new parts will have a newer suffix to the old part name (V4 becomes V5, etc..). You may use the new design or you are welcome to print the older versions.Upload GRBL to your Arduino Uno using these instructions
https://github.com/grbl/grbl/wiki/Compiling-Grbl
(Ignore references to GRBL V1.1)
You must copy the config.h which I supply here to the directory where GRBL resides and then do the upload. The new config.h will be used for the compile of the GRBL code. Failure to copy this file will result in your robot plotting at a 45 degree angle. Seems like I said that doesn’t it? Well I get messages weekly from people wondering why this design doesn’t work and why it prints at a 45 degree angle. I’m getting oldFirmware Used
Firmware customization of GRBL comes from Robottini
https://github.com/robottini/grbl-servoInkscape to draw/import/convert and generate Gcode files (from extensions menu)
https://inkscape.org/Inkscape extension for creating Gcode
https://jtechphotonics.com/?page_id=2012Sourcerabbit Gcode sender
https://www.sourcerabbit.com/GCode-Sender/
Package Include hardware:
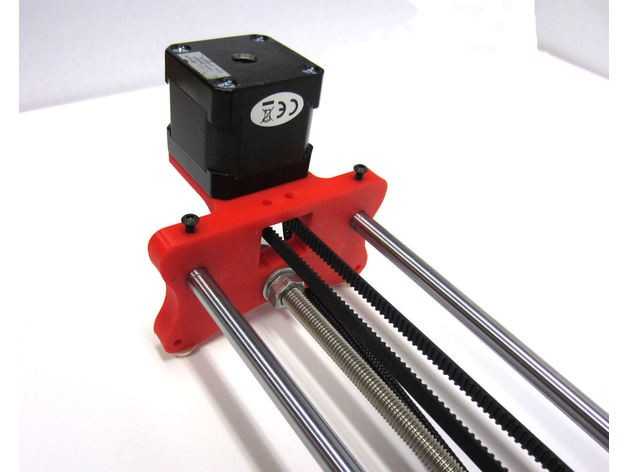
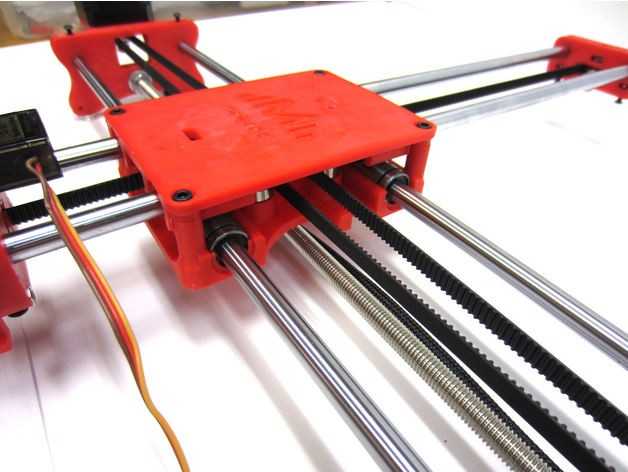
- All 3D printed Parts Shown in Images
- 2x Nema 17 Stepper Motors
- 2x Linear bearing rod M8 x 450mm, X Axis
- 2x Linear bearing rod M8 x 350mm, Y axis
- 2x Linear rod M3 x 75mm, Z Axis
- 1x M8 x 480mm threaded rod
- 8x LM8UU linear bearings or printed bearings
- 1x sg90 Servo
- 2x GT2 Pulley 16 teeth
- 5x Bearing 624zz
- 1x 2000mm GT2 belt
- misc. M3 and M4 screws and nuts
- M8 nuts
- Arduino Uno
- CNC Shield for UNO
- 2 A4988 Stepper Drivers plus jumpers
- 12V 5A Adapter
DIY Arduino Robot Arm 5 degrees of freedom 5DOF
Be the first to review “DIY Drawing Robot Project Unassembled Arduino Uno + CNC Shield” Cancel reply
Related products
CNC & 3D Printer Parts
5mm to 8mm 5x8mm Flexible Coupler of Stepper Motor for CNC & 3D Printer
Arduino interface Module
CNC & 3D Printer Parts
CNC 3018,DIY Engraving Machine OR Pcb Milling Machine laser engraving GRBL control
CNC & 3D Printer Parts
CNC & 3D Printer Parts
Length 2020 & 2040 T-Slot & V-Slot Aluminum Profiles Extrusion Frame For CNC









Reviews
There are no reviews yet.