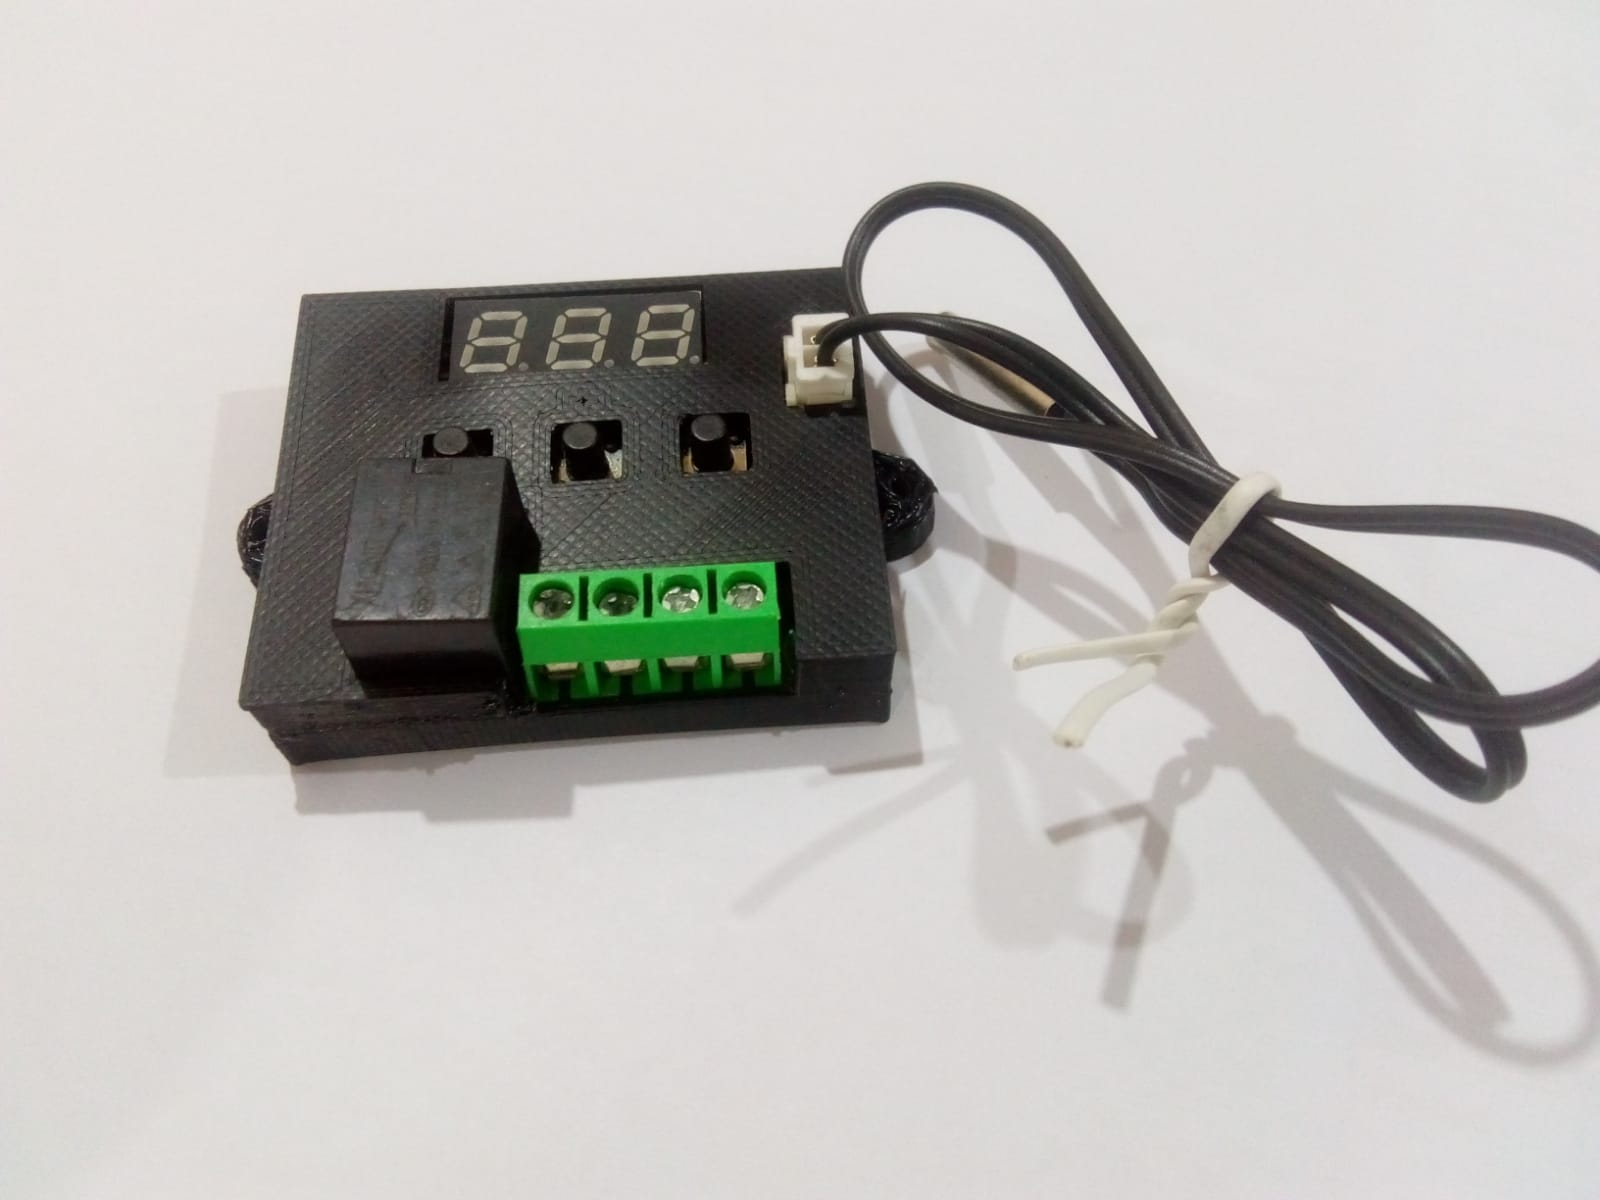
W1209 Temperature Controller Casing
110.00 ₨ 88.00 ₨
Color May Be Change
W1209 Temperature controller Casing LED:
This is W1209 Temperature controller incredibly low cost temperature controller. This w1209 temperature controller monitor is a highly functional thermostat handler. Although this W1209 Temperature controller module has an embedded microcontroller no programming knowledge is required.
for best controller you find out this link
Digital LED Temperature Controller AC220V 10A
use timer relay also by this link
Specification of W1209 Temperature controller Casing LED:
Temperature Control Range: -50 ~ 110 C
Resolution at -9.9 to 99.9: 0.1 C
Resolution at all other temperatures: 1 C
Measurement Accuracy: 0.1 C
Control Accuracy: 0.1 C
Refresh Rate: 0.5 Seconds
Input Power (DC): 12V
Measuring Inputs: NTC (10K 0.5%)
Waterproof Sensor: 0.5M
Output: 1 Channel Relay Output, Capacity: 10A
Power Consumption
Static Current: <=35mA
Current: <=65mA
Environmental Requirements
Temperature: -10 ~ 60 C
Humidity: 20-85%
Dimensions
48mm x 40mm x 14mm
Settings Chart
Long press the button to activate the menu.
Code Description Range Default Value of W1209 Temperature controller LED:
P0 Heat C/H C
P1 Backlash Set 0.1-15 2
P2 Upper Limit 110 110
P3 Lower Limit -50 -50
P4 Correction -7.0 ~ 7.0 0
P5 Delay Start Time 0-10 mins 0
P6 High Temperature Alarm 0-110 OFF
Long pressing +- will reset all values to their default
Displaying the current temperature:
The thermostat will display the current temperature in oC by default. When in any other mode making no input for approximately 5 seconds will cause the thermostat to return to this default display.
Setting the trigger temperature W1209 Temperature controller LED:
To set the trigger temperature press the button marked ‘SET’. The seven segment display will flash. You can now set a trigger temperature (in oC) using the ‘+’ and ‘-‘ buttons in 0.1 degree increments. If no buttons are pressed for approximately 2 seconds the trigger temperature will be stored and the display will return back to the current temperature. e578443#
Setting the parameters:
To set any parameter first long press the ‘SET’ button for at least 5 seconds. The seven segment display should now display ‘P0’. This represents parameter P0. Pressing the ‘+’ or ‘-‘ buttons will cycle though the various parameters (P0 to P6). Pressing the ‘SET’ button whilst any of there parameters are displayed will allow you to change the value for that parameter using the ‘+’ and ‘-‘ buttons (see below). When finished setting a parameter press the set button to exit that option. If no buttons are pressed for approximately 5 seconds the thermostat will exit the parameter options and will return back to the default temperature display.
Setting the cooling or heating parameter P0:
The parameter P0 has two settings, C and H. When set to C (cooling) the controller will turn on the cooling system to drive the temperature down to the trigger temperature. Once at this temperature the controller will turn off the cooling. When the temperature drifts back to the set point + hysteresis (see parameter P2) the controller will turn the cooling system back on.
When set to H (heating) the controller will turn on a heater to drive the temperature up to the trigger temperature. Once at this temperature the controller will turn the heating off. When the temperature drops back down to the setpoint – hysteresis (see parameter P2) the controller will turn the heating system back on.
Be the first to review “W1209 Temperature Controller Casing” Cancel reply
Related products
Casings and Holders
Casings and Holders


Reviews
There are no reviews yet.